
Creating A Table Of Contents In Word - Microsoft Word is an essential tool for creating documents of all kinds. One of the most useful features of Word is the ability to add a table of contents (TOC) to your document. A table of contents can help readers navigate your document easily and quickly, making it an indispensable tool for longer documents. In this post, we'll take a look at how to create a table of contents in Word and some tips and best practices for using this feature.
Why Use a Table of Contents in Word?
Before we dive into the details of creating a table of contents in Word, let's take a look at why you might want to use this feature. Here are just a few reasons to consider:
- A table of contents provides an overview of your document, making it easy for readers to find what they need.
- By using headings and subheadings, you can break up your document into smaller chunks and make it more readable.
- Adding a table of contents can give your document a more professional, polished look.
How to Create a Basic Table of Contents in Word
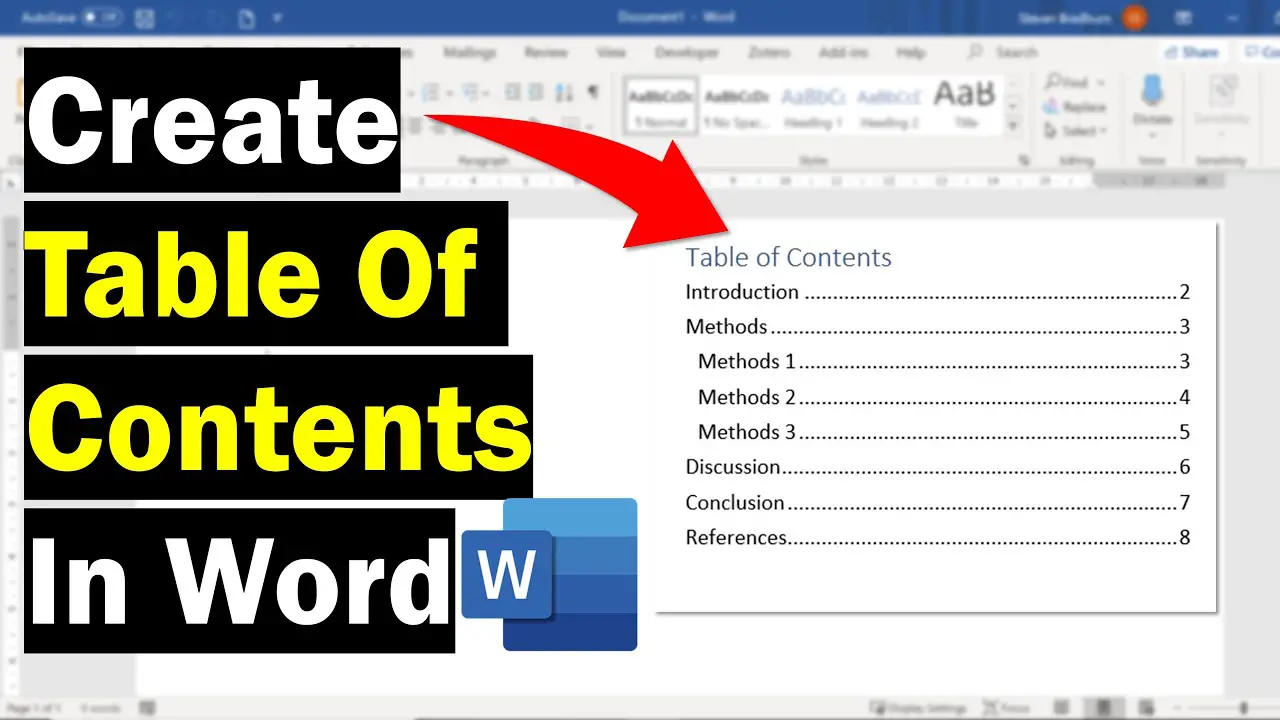
Now that we've covered some of the benefits of using a table of contents in Word, let's get into the nitty-gritty of actually creating one. Here's a step-by-step guide to creating a basic table of contents in Word:
- Open your document in Word and make sure you've formatted your headings using either the Heading 1 or Heading 2 style.
- Place your cursor where you want the table of contents to appear.
- Click the References tab in the ribbon at the top of the screen.
- Click the Table of Contents button and select one of the preset styles.
That's it! Word will automatically create a table of contents based on your headings. If you make any changes to your headings or add new ones, simply click the Update Table button to refresh the table of contents.
Customizing Your Table of Contents in Word
While creating a basic table of contents in Word is easy, you may want to customize it to fit your unique needs. Here are some tips for doing just that:
- To add more levels to your table of contents, click the Table of Contents button and select Insert Table of Contents. From here, you can choose how many heading levels you want to include and customize the appearance of your table of contents.
- You can change the appearance of your table of contents by clicking the Table of Contents button and selecting Custom Table of Contents. Here, you can change the font, size, and other formatting options.
- If you want to exclude certain headings from your table of contents, simply format them using a different style (such as Normal) or exclude them manually by selecting them and clicking the exclude button in the Table of Contents dialog box.
Best Practices for Using a Table of Contents in Word
Now that you know how to create and customize a table of contents in Word, let's take a look at some best practices for using this feature:
- Use clear, descriptive headings that accurately reflect the content of your document. This will make it easier for readers to find what they need.
- Don't overload your table of contents with too many levels or headings. Stick to three or four levels at most.
- Make sure your headings are consistent throughout your document, using the same style and format.
- Update your table of contents frequently as you add or remove content from your document.
Conclusion
A table of contents is a valuable tool for any longer document, making it easy for readers to navigate and find what they're looking for. With Word's built-in table of contents feature, it's easy to create a professional-looking table of contents that will help your document look polished and well-organized. Just remember to use clear, descriptive headings and follow best practices for implementation, and you'll be well on your way to creating a useful and effective table of contents in Word.
View more articles about Creating A Table Of Contents In Word