Do you know how to light a pilot light on your water heater? It's an essential skill that every homeowner should have. In this post, I'll guide you through the process of lighting your water heater's pilot flame step by step. But before we get started, let's take a look at why the pilot light might go out and what you can do about it.
Why Does The Pilot Light Go Out?
Tip 1: Lack Of Air
If your water heater is located in a closet or other enclosed space, it might not be getting enough air to keep the pilot light lit. Make sure there is adequate ventilation in the room where your water heater is located. You should also check that the flue is clear of debris and functioning correctly.
Tip 2: Dirty Pilot Tube
The pilot tube can become clogged with soot or other debris, which can prevent the pilot light from staying lit. To fix this problem, turn off the gas supply to your water heater and disconnect the pilot tube from the gas valve. Use a wire brush or compressed air to clean out the tube, then reattach it to the gas valve and turn the gas supply back on.
Tip 3: Faulty Thermocouple
The thermocouple is a safety device that is designed to shut off the gas supply if the pilot light goes out. Over time, the thermocouple can become corroded or damaged, which can cause the pilot light to go out. To fix this problem, you may need to replace the thermocouple.
How To Light Your Water Heater's Pilot Flame
Step 1: Turn Off The Gas
Before you begin, make sure the gas supply to your water heater is turned off. This will prevent the risk of a gas leak or fire.

Step 2: Remove The Access Cover
Locate the access cover on your water heater. This is usually located near the bottom of the tank, on the front of the heater. Remove the cover by pulling it off.
Step 3: Locate The Pilot Light
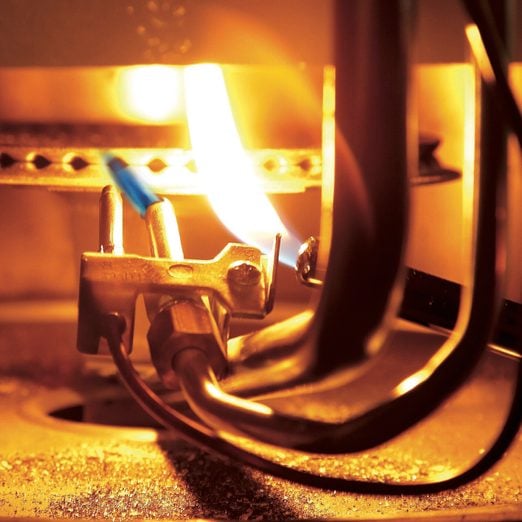
You should now see the pilot light. It is a small flame that sits at the bottom of the heater, under the main burner. The pilot light should be surrounded by a small metal tube.
Step 4: Turn The Gas Knob To Pilot
Find the gas control knob. It is usually located near the bottom of the heater, under the access cover. Turn the knob to the "pilot" setting. You should hear a hissing sound, which indicates that gas is flowing to the pilot light.
Step 5: Light The Pilot Light
Using a long lighter or match, hold the flame near the pilot light tube while pressing the knob down. The pilot light should ignite. Hold the knob down for about a minute to allow the thermocouple to heat up and the gas to flow properly.
Step 6: Turn The Gas Knob To On
Once the pilot light is lit, turn the gas control knob to the "on" position. This should start the main burner and your water heater should begin heating up. Replace the access cover and you're done!

Is It Dangerous If The Pilot Light Goes Out On The Water Heater?
If your water heater's pilot light keeps going out, it could be a sign of a more serious problem. In some cases, a faulty water heater can be dangerous and even lead to gas leaks or fires. It's important to have your water heater inspected by a professional if you are experiencing any problems.

Water Heater Pilot Won't Stay Lit - Options? More Info in Comments
If you're having trouble keeping your water heater's pilot light lit, there are a few things you can try. In addition to the tips listed above, you may want to consider cleaning or replacing the gas valve, or having the burner assembly inspected for any damage or wear and tear.

How To Relight A Water Heater Pilot Light
If you need to relight your water heater's pilot light, follow the steps outlined above. It's important to take your time and follow the instructions carefully to ensure that the pilot light stays lit and your water heater is functioning properly.

Now that you know how to light your water heater's pilot flame, you can enjoy hot water all year round. Remember to always follow safety instructions and consult a professional if you are unsure about any aspect of your water heater's operation. Stay safe and warm!
Read more articles about How To Light A Pilot Light On Water Heater